Section 6 (8HP90 Automatic Transmission (Service Information)): Removal: Transmission
WARNING: This page is about a different variant/trim than selected.
- Disconnect and isolate the negative battery cable.
- Raise and support the vehicle. Refer to HOISTING, STANDARD PROCEDURE .
- Remove the drive shaft. Refer to REMOVAL .
- Remove the starter. Refer to STARTER, REMOVAL
.
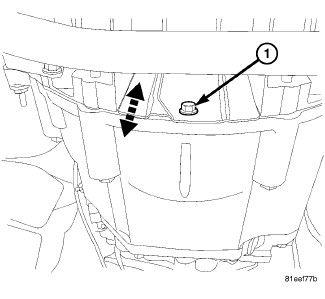
- Remove the inspection cover bolt (1) and the inspection cover.
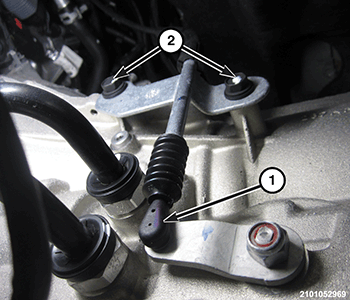
- Disconnect the Manual Park Release (MPR) cable (1) from the MPR lever, remove the MPR cable bracket bolts (2) and position aside.
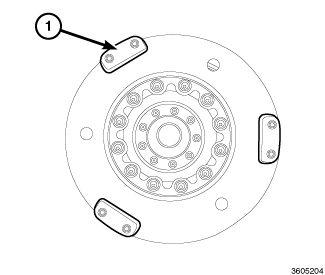
- The torque converter is attached with three sets of two bolts (1) 120° apart as shown.
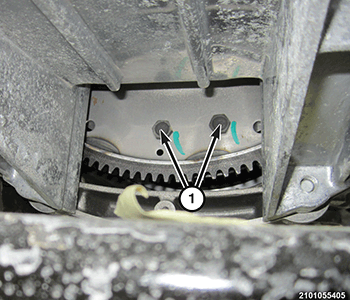
- Rotate the crankshaft in a clockwise direction and remove the six torque converter bolts (1).
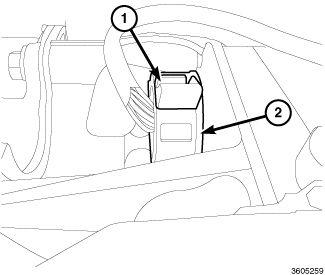
- Turn the locking mechanism lock (1) of the wire harness connector (2) counter-clockwise to release the lock.
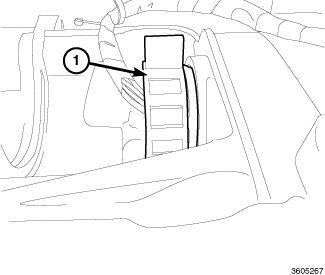
- Remove the wire harness connector (1) from the transmission.
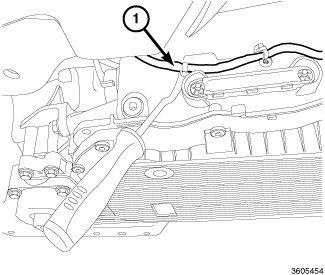
- Disconnect the wiring harness (1) from the transmission.
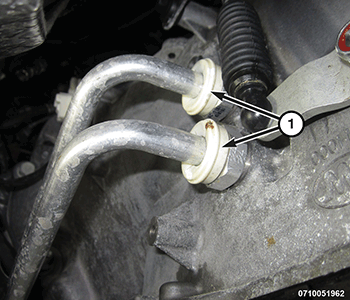
- Disconnect the transmission fluid cooler lines (1) from the transmission and cap the transmission cooler lines. (Refer to TUBES AND HOSES, TRANSMISSION OIL COOLER
.CAUTION:
When supporting or lifting the transmission at the oil pan the weight of the transmission must be distributed evenly on the lifting fixture. Failure to do so could damage the oil pan and transmission.
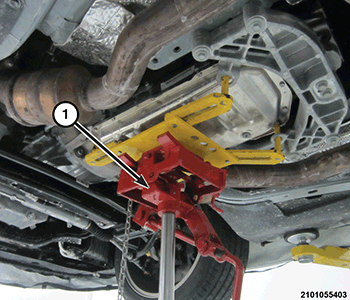
- Raise the transmission slightly with a transmission jack (1) to relieve load on the crossmember.
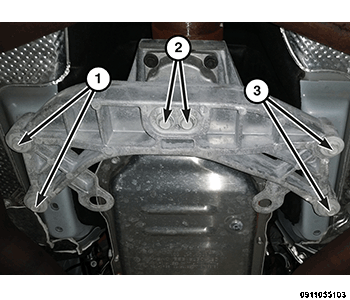
- Remove the rear support isolator bolts (2), the crossmember bolts (1 and 3) and remove the crossmember.
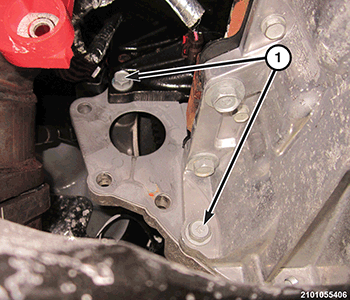
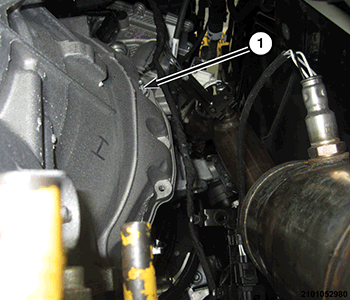
- Remove the Right Hand (RH) transmission to engine bolts (1).
- Remove the Left Hand (LH) transmission to engine bolts (1).
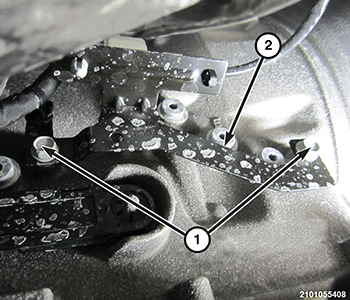
- Remove the wiring harness bracket bolts (1) and position aside the wiring harness bracket (2).
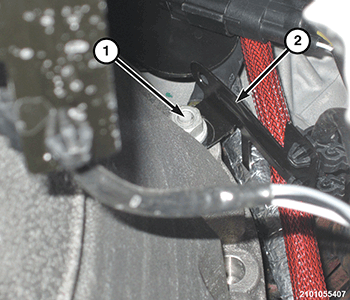
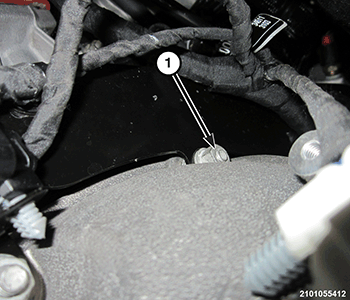
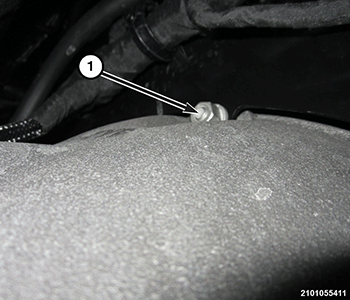
- Remove the RH wiring harness bracket nut (1) and position aside the wiring harness bracket (2).
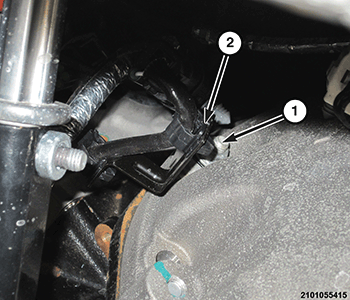
- Remove the LH wiring harness bracket nut (1) and position aside the wiring harness bracket (2).
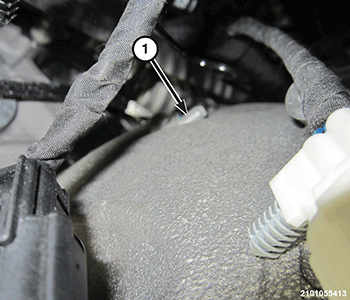
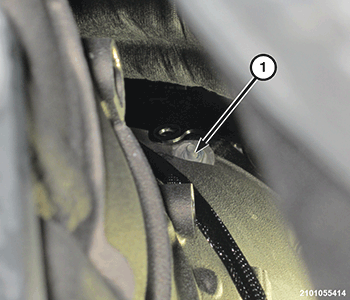
- Remove the RH and LH transmission to engine studbolts (1).
- Remove the LH wiring harness bracket nut (1).
- Remove the RH wiring harness bracket nut (1).
- Remove the LH transmission to engine studbolt (1).
- Remove the RH transmission to engine studbolt (1).
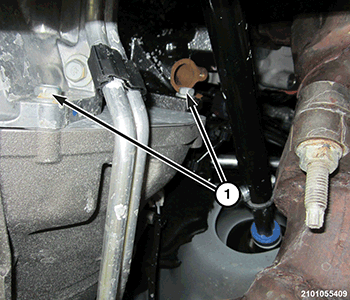
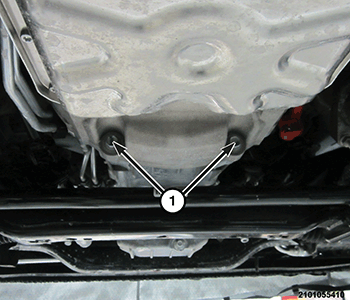
- Remove the bottom two transmission to engine bolts (1).
- Hold the torque converter in place during transmission removal.
- Lower the transmission and remove the assembly from the vehicle.
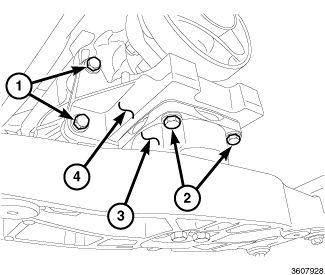
- Remove the transmission mount bolts (2) and the transmission mount (3).
- Remove the four adapter bracket bolts (1) and the adapter bracket (4).