Link, Tension: Removal
- Raise and support the vehicle. Refer to HOISTING, STANDARD PROCEDURE .
- Remove the tire and wheel assembly. Refer to REMOVAL .
- For left hand side tension link service, remove the fuel filler tube. Refer to TUBE, FUEL TANK FILLER, REMOVAL .
- Remove the rear exhaust. Refer to MUFFLER, EXHAUST, REMOVAL
.
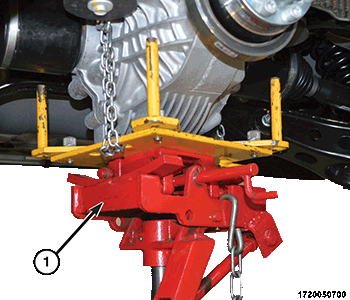
- Position a suitable jack under the rear axle differential. Do not secure the jack to the stabilizer bar.
- Position a suitable jack (1) to the crossmember on the repair-side of the vehicle.
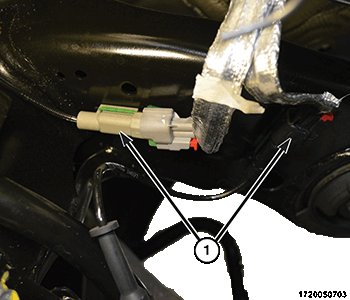
- Disconnect the wheel speed sensor electrical connectors (1).
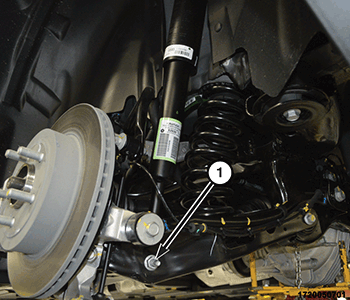
- Remove the lower shock absorber bolt.
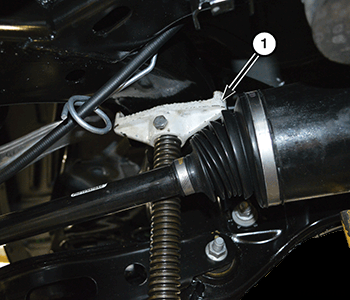
- Remove the front crossmember mounting bolt (1) on the repair-side of the vehicle.NOTE:
When removing crossmember mounting bolts it is important NOT to loosen or remove crossmember mounting bolts on opposite side of vehicle. Doing so will require rear wheel alignment following reinstallation to ensure proper thrust angle.
- Remove the rear crossmember mounting bolt (1) on the repair-side of the vehicle.
- Carefully
lower the crossmember.NOTE:
Do not lower repair-side of the crossmember any further than necessary to gain access to the link mounting bolts at the crossmember.
CAUTION:To avoid damaging other components of vehicle, do not lower crossmember (1) any further than necessary to remove shock absorber.
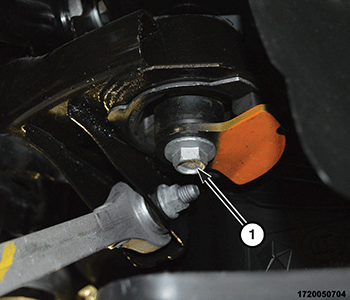
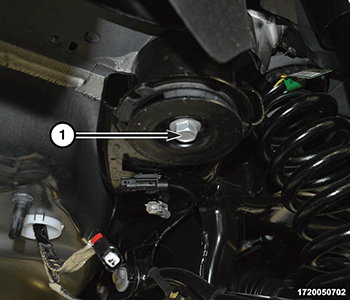
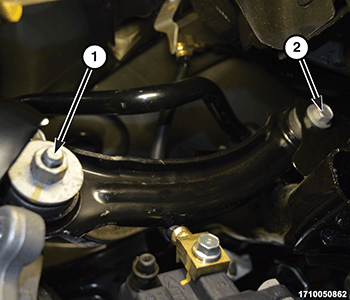
- Remove the tension link to knuckle bolt (1).
- Remove the tension link to crossmember bolt (2).
- Remove the tension link.