Panel, Door Trim: Installation
- Prior to installation, check to be certain that all snap retainers are in good condition on the door trim panel and the door's carrier plate. Replace if necessary.
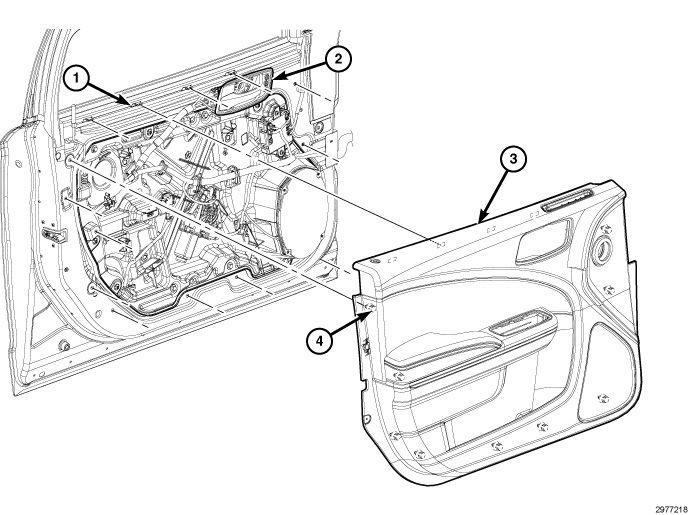
- Position the door trim panel near the door. Do not install at this time.
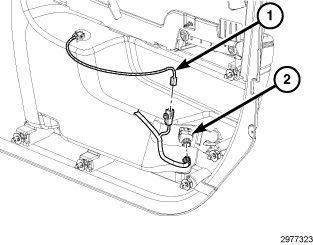
- Connect the harness (1) to the fuel door release switch (2).NOTE:
If the latch handle assembly is installed to the door trim panel, the technician will need to attach the latch cable at the handle before the door trim panel is installed.
- Feed the latch handle assembly (2) on an angle through the opening in the door trim panel (3). Once the latch handle is fed through the opening, snap it into place.
- Using firm pressure, engage the door trim snap retainers (1, 4) into the door's carrier plate.
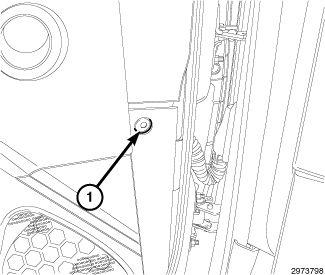
- Install the screw/bumper (1) to the rear of the door trim.
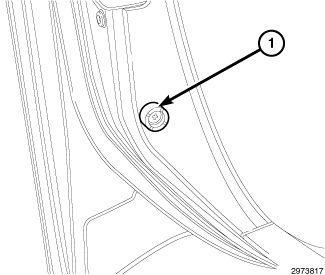
- Install the push pin fastener (1) near the front of the door.
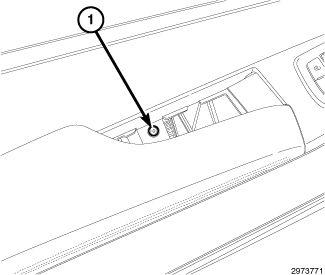
- Install the screw (1) just behind the armrest. Tighten the screw to 2 N.m (16 in. lbs.).
- Connect and install the power window switch. Refer to SWITCH, POWER WINDOW, INSTALLATION
.
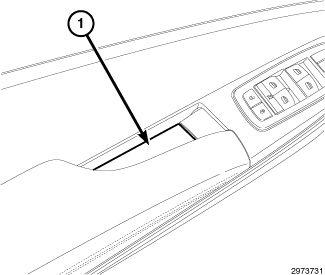
- Install the trim plate (1) just behind the armrest.
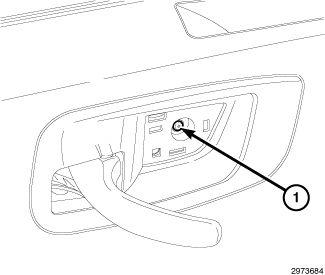
- Pull out on interior latch handle and install the screw (1) securing the latch handle to the carrier plate. Tighten the screw to 2 N.m (16 in. lbs.).
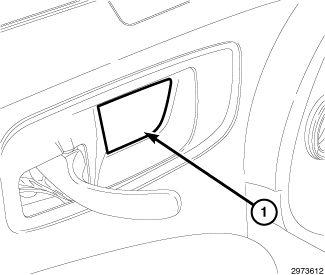
- Pull out on interior latch handle and install the trim plate (1).NOTE:
For vehicles equipped with the optional Automatic Express Up power window feature, calibration of this feature is required whenever power to the door module is disrupted.
A battery reconnect procedure must be performed anytime the battery has been disconnected.
- Connect the battery negative cable.