Plate, Carrier: Installation
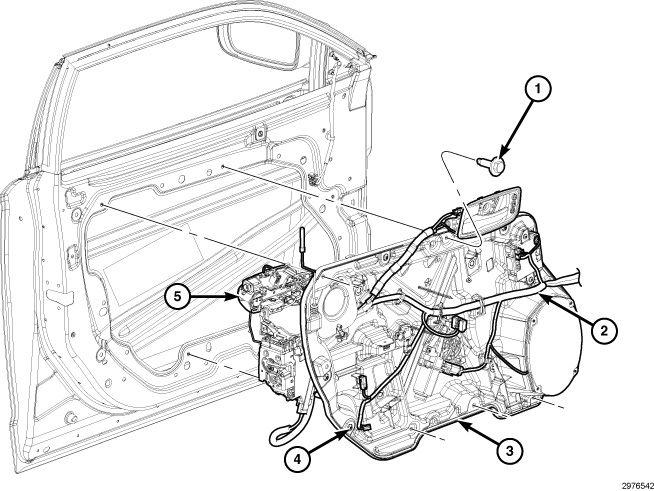
- If servicing the latch, attach the presenter and the latch to the carrier plate.
- Position the carrier plate (3) to the front door.
- Engage the four carrier plate torx head retainers (3).
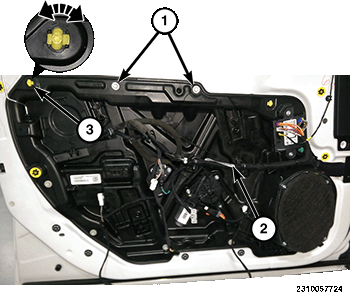
- Install the five carrier plate bolts (1). Tighten the bolts to the proper torque specifications. Refer to TORQUE SPECIFICATIONS .
- If necessary, connect the link rods to the rear of the exterior handle assembly.
- Install the front door wiring harness (2) to the front door carrier plate (3).
- Connect the front door wiring harness (2) to all door carrier motors, modules, sensors and the latch.
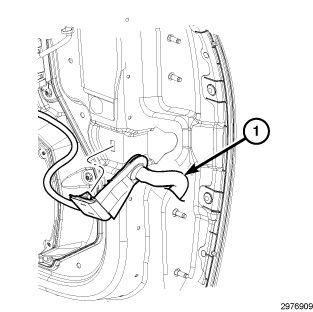
- Install the front door harness wiring (1) bracket to the front of the door.
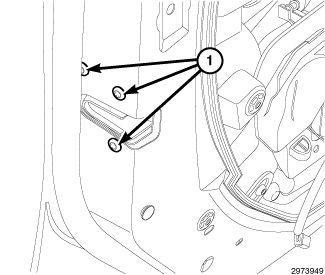
- Install the front door latch mounting screws (1). Tighten the screws to the proper torque specifications. Refer to TORQUE SPECIFICATIONS .
- Install the exterior handle support screw (1).
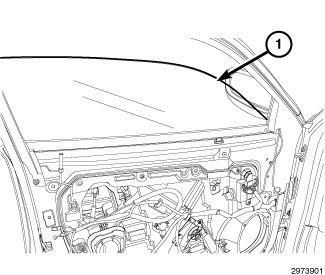
- Remove the wedge or tape securing the window glass into place.
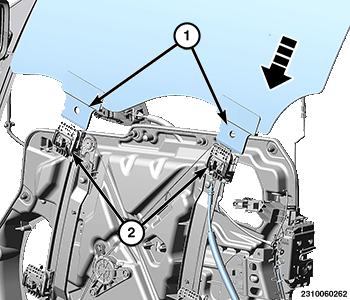
- Slowly lower the glass into place and align with the white regulator tabs.
- Engage the window regulator tabs (2) into the glass tabs (1).
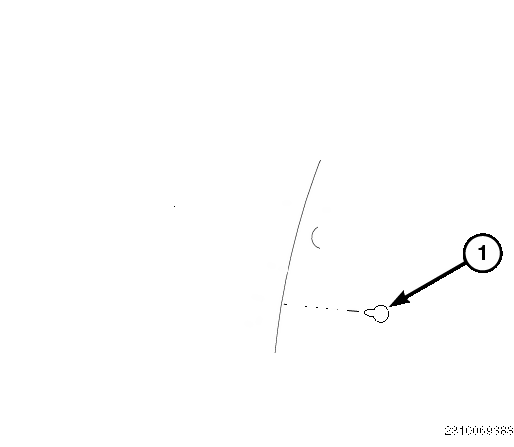
- Apply a clear adhesive patch covering the front window regulator access hole (1).
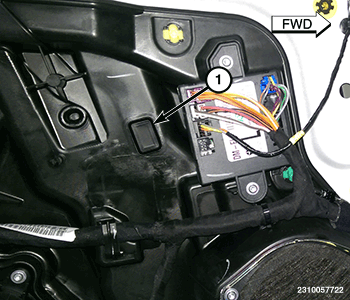
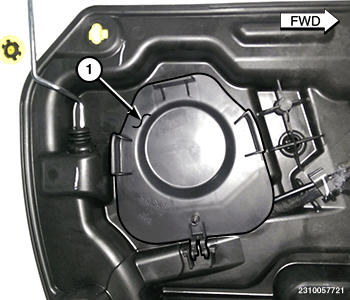
- Close the latch access panel (1).
- Install the front door trim (3). Refer to PANEL, DOOR TRIM, INSTALLATION .
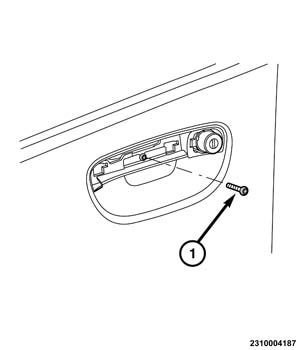
- Install the screw (1) under the exterior handle.
- Install the exterior handle. Refer to HANDLE, EXTERIOR, INSTALLATION .
- Connect the battery negative cable.
NOTE:
For vehicles equipped with the optional Automatic Express Up power window feature, calibration of this feature is required whenever power to the door module is disrupted.
A battery reconnect procedure must be performed anytime the battery has been disconnected.