Door - Front: Door: Installation
NOTE:
Have an assistant to aid in removal/installation.
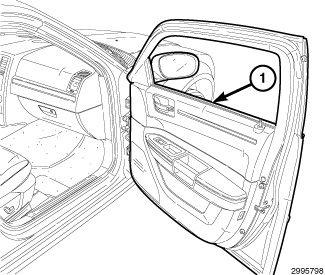
- Support the front door (1) with a suitable lifting device.
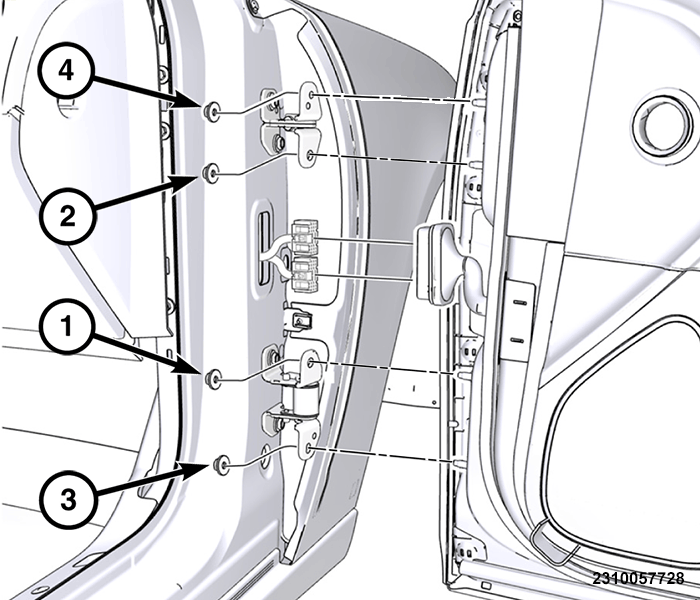
- Position and align the door hinge studs with the upper and lower hinge brackets.
- Push the door in towards (1) the vehicle to seat the studs into the hinge brackets.
- Install and tighten the nuts (1, 3) that secure the door hinges to the front door to the proper torque specifications using the following sequence. Refer to TORQUE SPECIFICATIONS .
- Tighten the upper nut on the lower hinge.
- Tighten the lower nut on the upper hinge.
- Tighten the lower nut on the lower hinge.
- Tighten the upper nut on the upper hinge.
- Remove the lifting device supporting the door.
- Carefully pull the body wire harness connector(s) (2) out from the A-pillar far enough to reconnect them to the door wire harness boot and connector.
- Engage the front door wire harness boot and connector (2) into the wiring clearance hole on the outside of the lower A-pillar.
- Reconnect the battery negative cable.NOTE:
For vehicles equipped with the optional Automatic Express Up power window feature, recalibration of this feature is required whenever power to the door module is disrupted.
- Adjust the door hinge positions as necessary to achieve proper door spacing and operation. Refer to DOOR, ADJUSTMENTS .
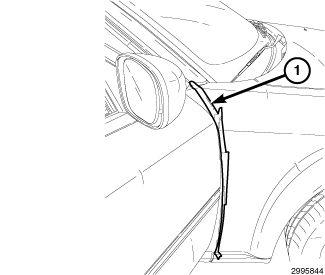
- Remove the tape strip (1) from the rear edge of front fender.